DIY
What I hope to accomplish
Inspirations
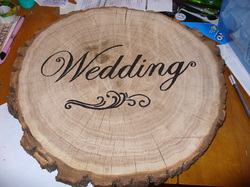
Wedding Sign - inspiration from Jon & Jody - a complete copy and paste from her bio, loved the idea!
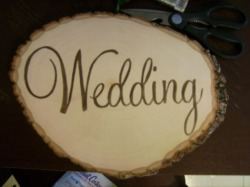
Here is our wedding directional sign. It is not 100% finished because I am not sure what direction to paint the arrow yet (still deciding on placement) and FI still needs to drill holes in the top so I can string ribbon through. I am also making another one that says Reception.
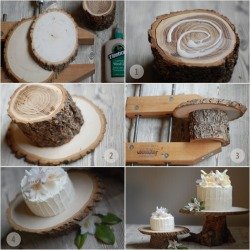
Supplies include:
1. Tree slab (Walmart-craft section)
2. 1 sheet cardstock
3. Metallic Espresso acrylic paint (Michael's)
4. Exacto knife
5. Very tiny paint brush (All my brushes came in craft pack from Walmart's craft section)
I measured the wood slab first to make sure I made the wording the correct size. Then in MS Publisher (or what ever you use) I typed out my wording in my desired font (Feel Script) and sized according to my measurements of the wood slab. Once I did that I printed it on a sheet of cardstock.
Using the exacto knife I cut my "stencil" by tracing the letters. Make sure that you cut and keep the insides of letters like "e", "d", & "g" so that you can use them to trace the letters.
When you finish creating the "stencil" place it on the wood slab and using a pencil trace your wording onto the slab. Use the inside peices of the letters you cut and saved as well. From there all you need to do it paint! That is by far the most time consuming part especially if you are like me and keep trying to make every stroke perfect :)
My try!
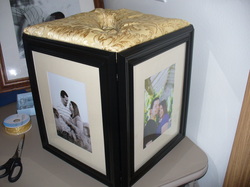
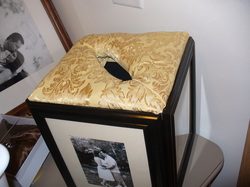
Card Box
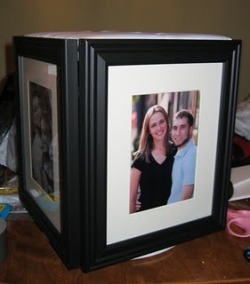
Instructions on how to make it from: http://roadtotheaisle.blogspot.com/2007/09/diy-photo-frame-cardbox.html

Dessert stands
From JtotheLee
Cake Stand

from JtotheLee
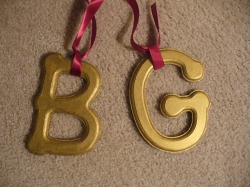
B&G Signs
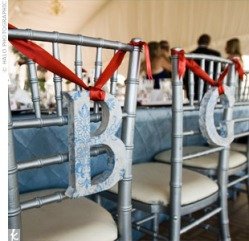
from cutypie953